

Release Radar blog for the week of August 31st
August 31st - September 4th 2026
Welcome back to the Release Radar Blog! From full-stack app hosting to new AI Image workflow actions, we're handing you stronger backend power, cleaner automation and total audience control. Here’s a breakdown of the top features that just landed in your workspace.
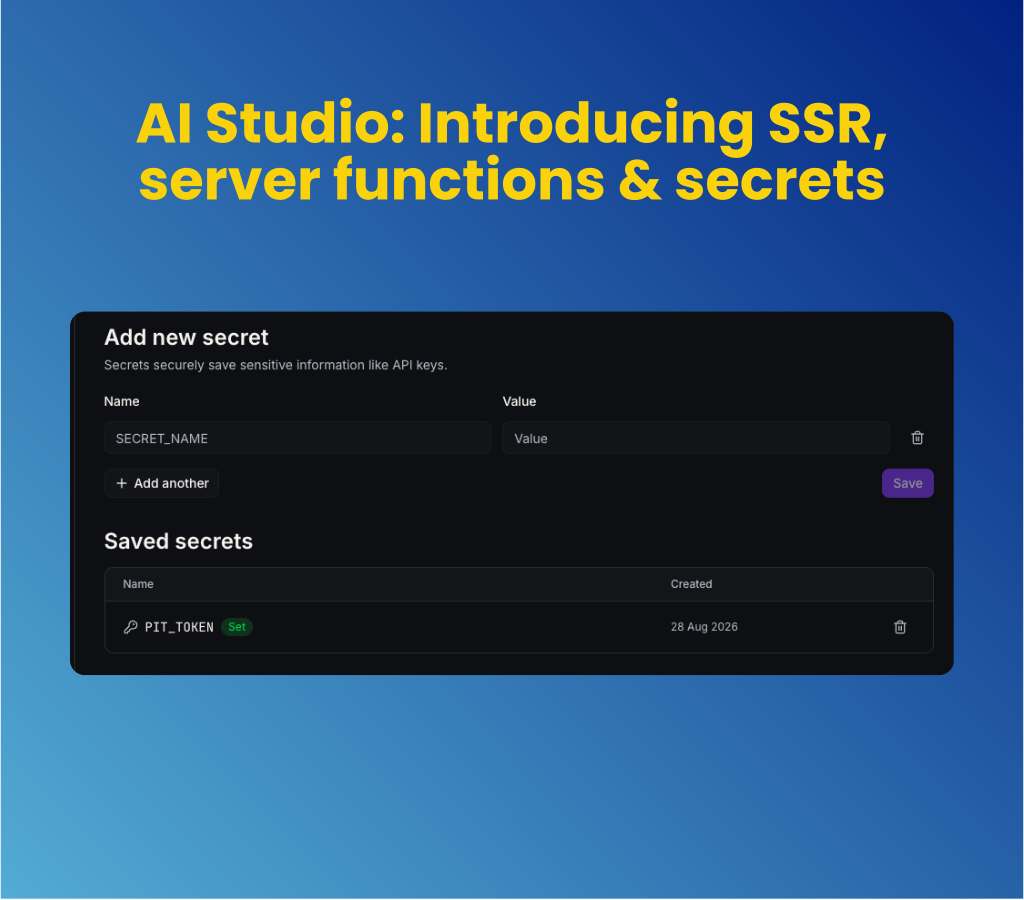
Build full-stack web apps with server-side rendering and secrets in AI Studio
Turning prompts into static frontends often leaves you stranded when you need backend logic, secure API connections or search engine visibility. Now available in private beta, AI Studio utilizes server-side rendering, other server functions and a built-in secrets vault to ship live, full-stack web applications.
Publish SEO-ready pages with native SSR: Server-side rendering delivers full HTML on every request so search engines, Slack unfurls and social previews index your content correctly.
Secure credentials with server functions and secrets: Run backend logic safely off the client bundle while storing API keys in a vault that never leaks into browser source code.
Target agency announcements using advanced audience filter conditions
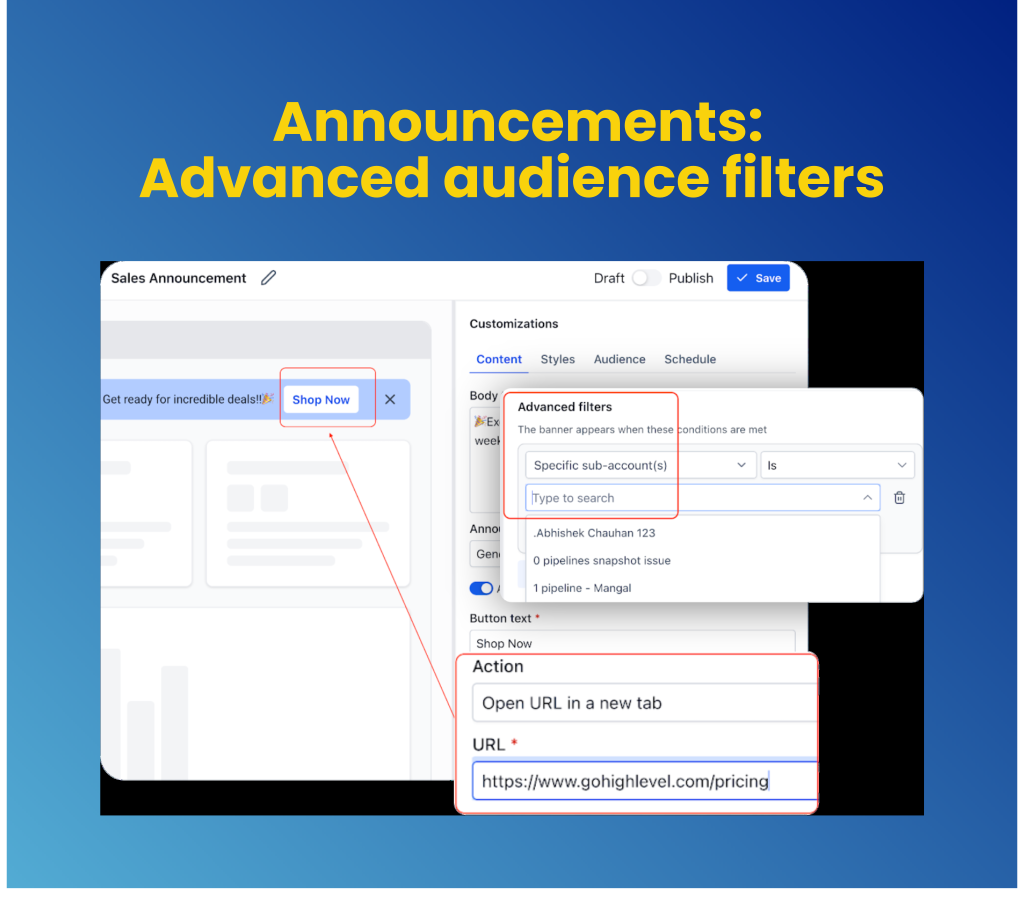
Broadcasting banner announcements to every sub-account often clutters dashboards for users who do not need to see them. The upgraded Audience builder lets agencies scope announcement visibility using compound sub-account and user filter rules while adding options to launch call-to-action links in new tabs.
Filter audiences by sub-account and user attributes: Build nested AND/OR condition groups based on timezone, HIPAA compliance, sub-account status or user roles to target specific segments.
Open call-to-action links in external tabs: Direct users to external landing pages or promotional resources without interrupting their active in-app session.
Get started with this feature
Open Announcement builder → Audience tab
Toggle Agency level or Sub-account level visibility
Under Advanced filters, click Select a field → pick a Sub-account or User attribute, operator and value
Click + Add (AND logic) or + Add filter (OR logic) to build compound rules
For CTA buttons, select Open in new tab from the action dropdown
Filter chat widget spam without adding visitor friction
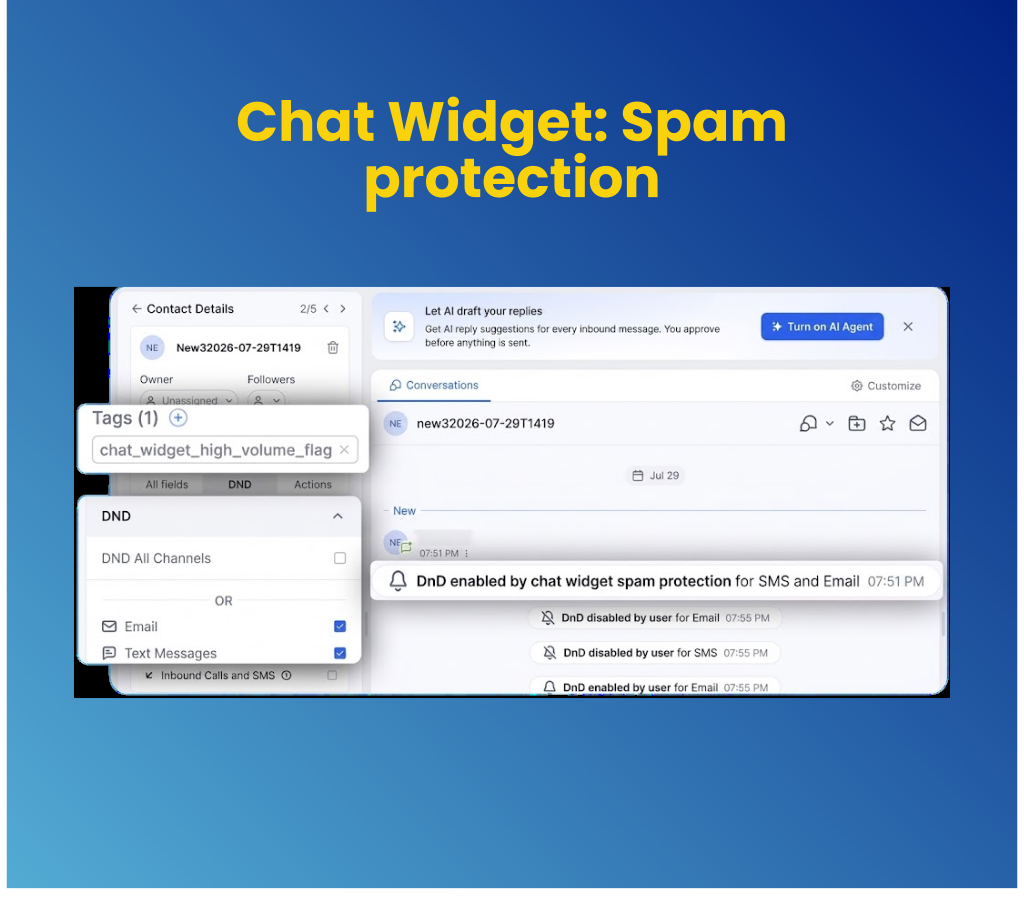
Fake lead submissions burn messaging credits and damage domain sender reputation through high bounce rates. The new Chat Widget Spam Protection automatically detects bot submissions and pauses messaging channels on flagged leads without adding CAPTCHAs or blocking real prospect submissions.
Shield sender reputation automatically: Pause outbound SMS and email channels instantly on suspicious submissions to prevent carrier bounces and protect inbox deliverability.
Review flagged leads without losing data: Retain flagged contacts in your CRM under dedicated audit tags so team members can verify and unpause legitimate leads with one click.
Get started with this feature
Go to Sites → Chat Widget → open your widget
Click Spam Protection in sidebar → toggle ON
Choose your action (Tag only, Pause SMS, Pause Email or Pause Both) → click Save
Filter contacts by tag chat_widget_high_volume_flag to review flagged leads
Automate custom visual creation in Workflows using AI Image Generation
Sourcing campaign graphics manually slows down automated outreach and requires external design tools. The new AI Image Generation workflow action automatically creates high-quality visuals from dynamic prompts, applies your brand kit rules and stores public image URLs for downstream messaging.
Generate dynamic imagery directly in workflows: Build automated actions using custom data variables to generate tailored product mockups, promo flyers or social visuals instantly.
Apply native brand kits and output controls: Enforce brand voice, preset design kits, aspect ratios and transparent backgrounds automatically on generated campaign assets.
Get started with this feature
Go to Automation → Workflows → open a workflow
Click + → select AI Image Generation under AI Actions
Select model, quality, and enter a prompt (or insert a custom value variable)
Optional: Click Additional Settings to configure size, background and Design Kit
Click Save → use the Image URL variable in downstream steps
Extract data from images using the AI Analyze Image workflow action
Processing document screenshots, receipts or user-submitted photos manually slows down response times and pipeline management. The AI Analyze Image workflow action uses advanced vision models to inspect public image URLs, extract plain text and route contacts based on visual content.
Extract text from documents and receipts: Process invoices, receipts and user screenshots automatically using built-in OCR capabilities to populate CRM custom fields.
Route workflow logic based on image analysis: Inspect visual content dynamically to trigger tailored follow-up actions, notifications or conditional branching.
Get started with this feature
Go to Automation → Workflows → open a workflow
Click + → select AI Analyze Image under AI Actions
Select your model and enter a public image URL variable
Enter your analysis prompt (e.g., "Read total amount in receipt") and select Detail Level
Click Save → use the text output in downstream steps
Interact with your Ask AI copilot directly through WhatsApp
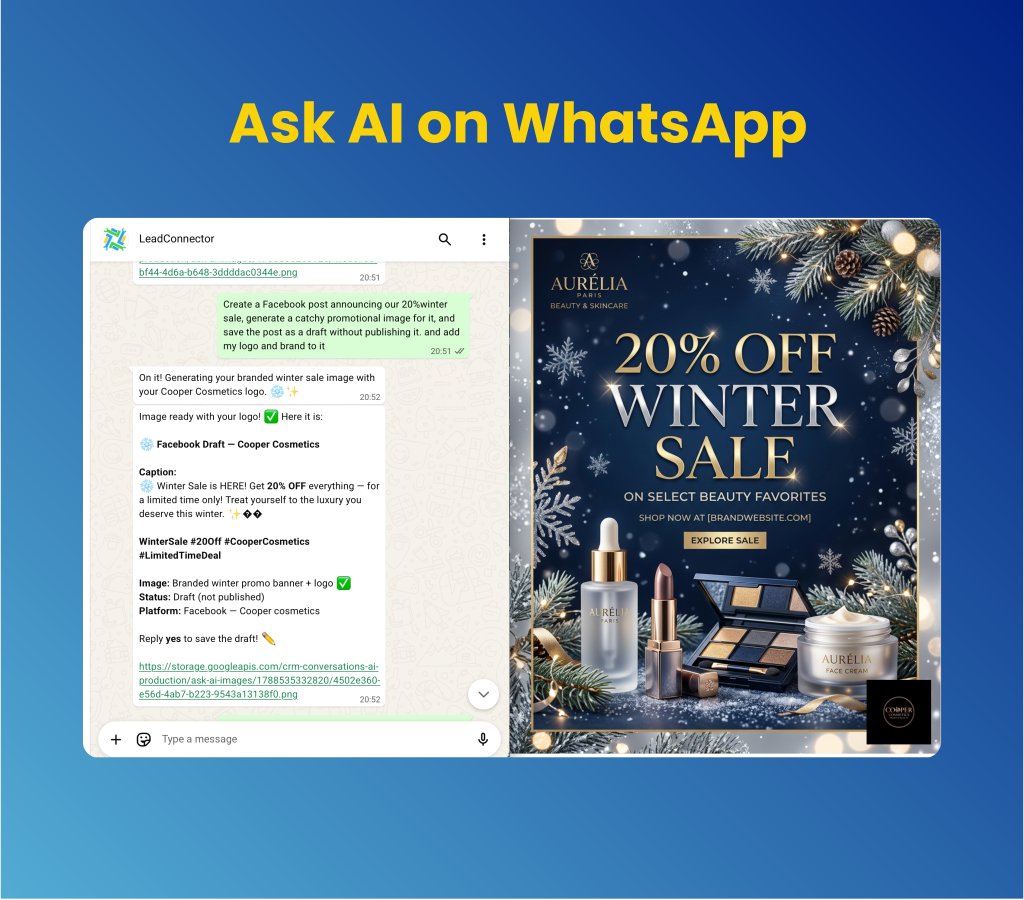
Managing CRM tasks, drafting content or checking schedules while away from your desk usually requires opening a mobile browser or switching apps. The new Ask AI WhatsApp integration lets you link your personal phone number to communicate with your full-featured copilot directly inside your daily messaging thread.
Execute full CRM and AI workflows via text: Update opportunity stages, look up contact details, check calendar schedules or trigger custom skills without opening your browser.
Generate multi-format content on the go: Delegate blog post drafts, create email templates and request AI images, videos or audio clips directly from your WhatsApp conversation thread.
Get started with this feature
1. Open Ask AI → Dispatch tab (or Customize → Dispatch) → click Connect WhatsApp
2. Scan the on-screen QR code with your phone → send a message to the number displayed
3. Copy the verification code sent to your WhatsApp → enter it in the app to complete setup
4. Send messages to that WhatsApp contact anytime to run tasks or ask questions
For a complete overview of this week’s updates 👉🏻check out the slides here.
New to HighLevel? Start a FREE TRIAL today!