

Release Radar blog for the week of November 9th
November 2nd - November 6th 2026
This week's featured releases:
Managed Agents: Multi-shot films
Restaurants: Online and dine-in coupons
Welcome back to the Release Radar Blog! From creating dedicated attendee apps for your events to launching unified coupons for restaurants, a powerful batch of new releases rolled out this week to help you run your business. Here is what you cannot miss this week.
Events Attendee App
Launch a dedicated Attendee App within the Client Portal to consolidate event discovery, ticketing, schedules and networking. Managing event experiences previously required separate platforms for registration, schedules and attendee communication. Organizers can now enable a unified app experience on web, iOS and Android where attendees can purchase tickets, browse sessions, connect with exhibitors and receive automated push notifications.
Event organizers and community managers will find this useful for centralizing the attendee experience and generating sponsor leads without managing fragmented software tools.
Consolidate ticketing and schedules: Allow members to browse upcoming events, save sessions to a personal schedule and store QR tickets in Apple Wallet.
Drive networking and sponsor visibility: Enable attendees to connect via QR badge scans while offering tiered banner ad placements for exhibitors.
Get started with this feature
1. Go to Events → select a specific event → choose Attendee App
2. Enable Attendee app access and optionally toggle Make this event discoverable
3. Direct attendees to sign in via the web, the Client Portal app or your branded app
4. Manage automated confirmations and broadcast announcements directly to selected roles
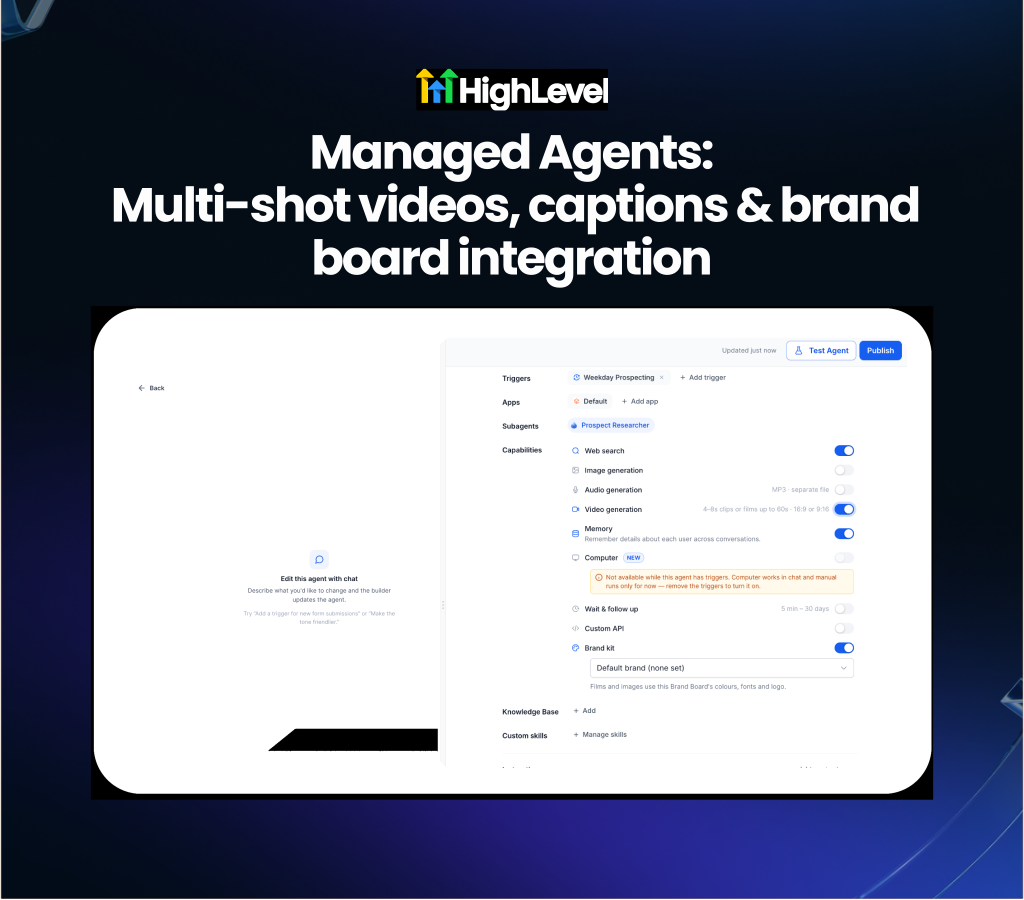
Managed Agents: Multi-shot films
Generate complete multi-shot short films with consistent branding and captions using Managed Agents. AI video generation previously produced isolated 8-second clips that lacked visual continuity and required manual stitching in external editors. Managed Agents can now plan and render 60-second films across 2 to 8 shots, maintaining character continuity while automatically applying brand colors, logos and readable text overlays.
Social media managers and digital marketing agencies will find this useful for instantly producing ready-to-post promos and product teasers directly within scheduled workflow runs.
Apply brand boards automatically: Select a custom brand board to automatically overlay title cards, captions and exact logos without garbled AI text.
Get started with this feature
1. Go to AI Agents → Agent Studio → open or create a Managed Agent
2. Open settings → turn on Video generation
3. Choose your default Brand Board or select a specific board to apply your fonts and logos
4. Prompt the agent in plain language to generate your multi-shot film
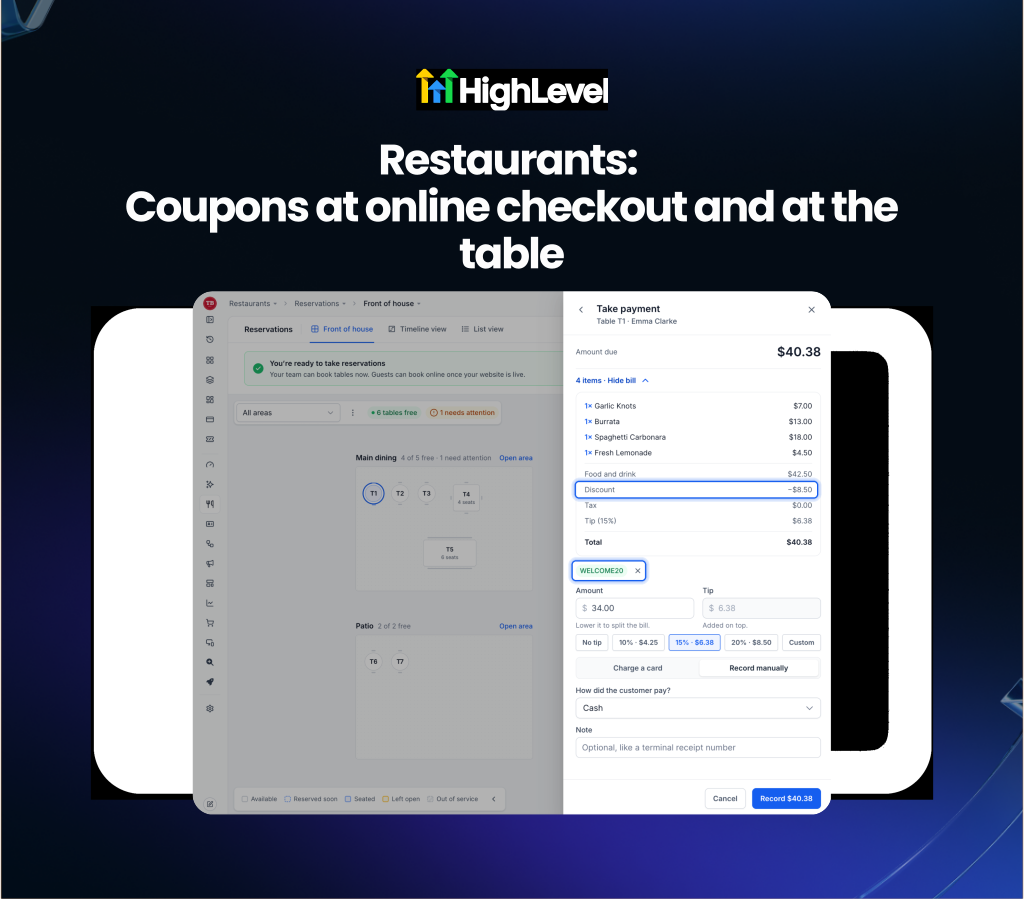
Restaurants: Online and dine-in coupons
Accept and process percentage or fixed-amount coupon codes for online checkout and dine-in bills. Guests can now enter coupon codes during Restaurant Website checkout, while staff can apply the exact same codes to table payments in the point of sale system.
Restaurant owners will find this useful for running unified promotional campaigns like first-order offers or win-back discounts across all ordering channels.
Process online discounts seamlessly: Allow guests to apply codes at checkout, automatically bypassing the payment step if a 100% coupon is applied.
Discount physical table bills: Enable front-of-house staff to apply active Commerce coupons to open tables before running a customer's credit card.
Get started with this feature
1. Go to Commerce → Coupons → Create Coupon to set your code, discount type and usage limits
2. Direct online guests to enter the code at checkout on your Restaurant Website
3. Open a table in Reservations → Front of house to apply the discount in person
4. Click Take payment → Add coupon to reduce the amount due before charging the customer
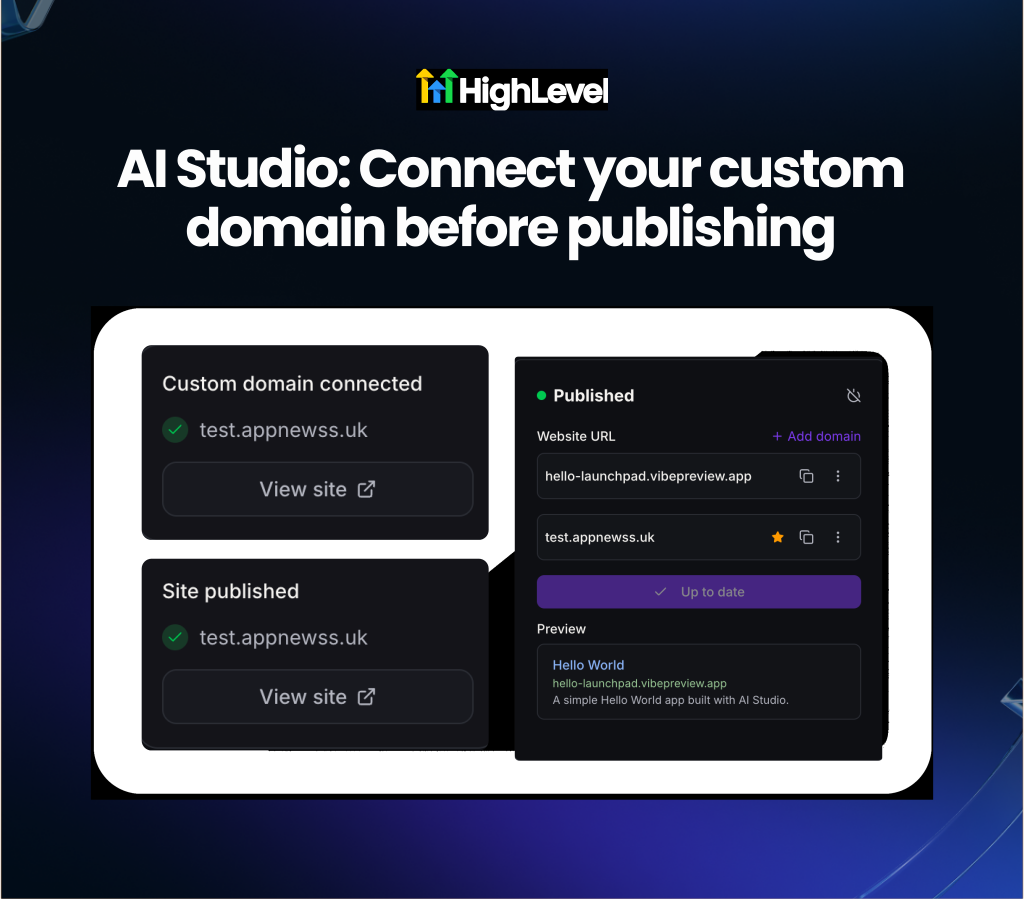
AI Studio: Pre-publish custom domain connection
Connect and verify custom domains for AI Studio projects before publishing your first live build. Launching a new site previously required publishing to a default system URL first before linking a custom domain. Users can now add a custom domain, verify DNS settings and save the configuration so the project automatically publishes directly to the final URL on its first run.
Web developers and marketing agencies will find this useful for streamlining site launches and ensuring client websites go live on their branded domains immediately.
Auto-publish to the verified domain: Save your selected domains after DNS verification to automatically route the latest ready version to the custom URL.
Get started with this feature
1. Open an unpublished project in AI Studio
2. Click Publish or go to Settings → Domains
3. Click + Add domain next to the Website URL
4. Follow the DNS verification steps and save the selected domains
5. Wait for the chat to confirm the site is published and click View site
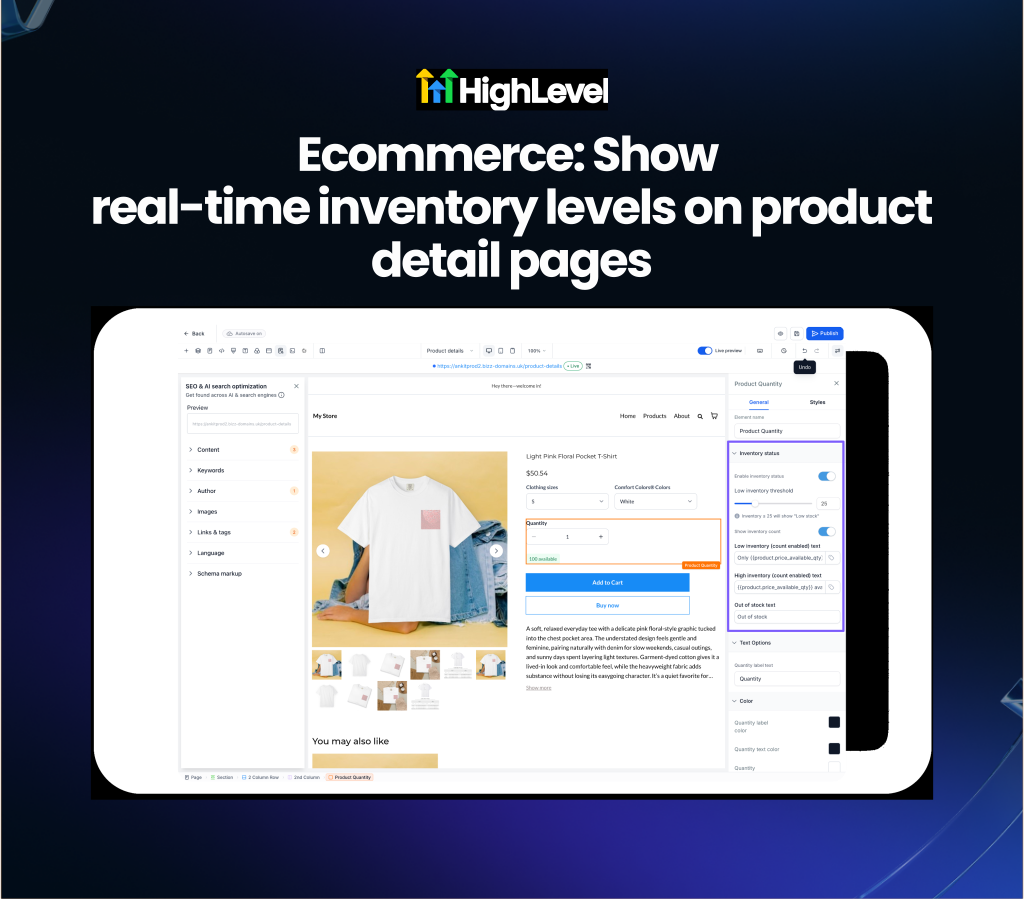
Ecommerce: Real-time product stock levels
Display real-time inventory statuses directly on product detail pages to drive urgency and inform shoppers. Online stores previously tracked inventory on the backend but lacked a native way to show exact remaining quantities to browsing customers. Store owners can now enable configurable stock status messages on product pages, displaying low stock warnings or exact available quantities based on custom thresholds.
Ecommerce businesses and retail agencies will find this useful for leveraging scarcity to boost conversion rates and setting clear expectations for out-of-stock items.
Display dynamic inventory messages: Configure custom text for high stock, low stock and out-of-stock states, optionally injecting exact remaining quantities into the message.
Customize styling and layout: Match the stock status text and background colors to your brand using the native styles tab.
Get started with this feature
1. Open the builder for a Product Details Page, Custom Product Details Page or Featured Product element
2. Navigate to the General tab → turn on Show Inventory Status (ensure Track Inventory is enabled on the product)
3. Set your Low Stock Threshold and customize the status messages
4. Navigate to the Styles tab → Inventory Styles to adjust text and background colors
For a complete overview of this week’s updates 👉🏻Check out the slides here!
Want to help your clients or team master these new tools under your own brand?
Explore our collection of customizable guides and materials in the HighLevel University White Label Resources Course.
Missed the event? Catch up on the biggest reveals from LevelUp 2026!
New to HighLevel? Start a FREE TRIAL today!